This is Part 1 of a 2-Part blog post on how I made my small paper flower bouquets. Part 1 talks about the paper flowers like ranunculus and sweet peas, and Part 2 talks about the foliage, my paper flower recipe, and how I put everything together. Read Part 2 here.
DISCLOSURE — When you click on my affiliate links, I may earn a commission for qualifying purchases made through Amazon.com links in this post. This commission goes directly into the maintenance of my website, the technology that goes into my courses, and my art. Want to know more? Read my AMAZON AFFILIATE DISCLAIMER.
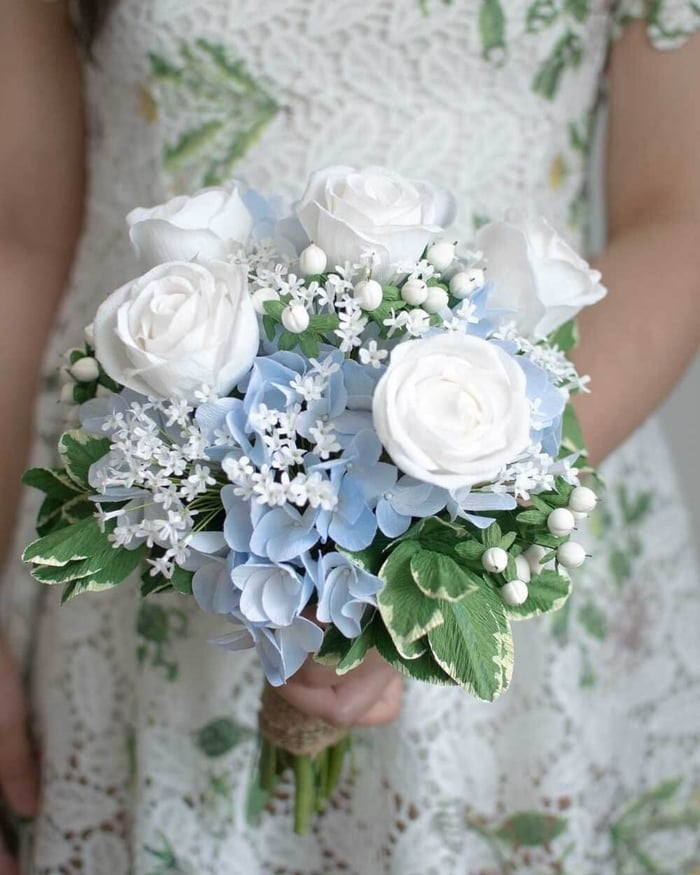
It's been a little more than a week since my ankle surgery. Before I went under the knife last Tuesday, I finished three beautiful small paper flower bouquets. I am normally approached to make large bridal bouquets, like this garden wildflower one and this purple and pink one. If I make small bouquets, it's usually for the maid of honour and/or bridesmaids, and always as part of a set of bridal bouquets. My brides, while they're quite happy to pay a bit more for their bouquet, understandably tend to be on a budget when it comes to their fairly large bridal party, so I'm often restricted by how intricate I can make small paper flower bouquets.

This time, my bride, Jessica, approached me to make small paper flower bouquets to give to her mother and her fiance's mother on their wedding day. She had a reasonable budget which wasn't nearly as tight as some of my other brides. I was quite satisfied that with her budget, I would be able to deliver her something that was more intricate than some of my past bridesmaid bouquets. Jessica was super easy to work with. She made her own felt flower bouquet in her wedding colours of light peach, light pink, and cream. The small paper flower bouquets for their mothers wouldn't go down the aisle, so they didn't have to coordinate with her bouquet. So we spoke about taking colours from her bouquet as a jumping point. She especially loved my Orange and Pink bouquet that was featured on 100 Layer Cake with the bright/ bold colours. We decided that we would incorporate some bright/bold peaches and/or pinks and work with lighter versions of those colours as well.

A few weeks after she approached me for the order of two small paper flower bouquets, her fiance contacted me to ask me to make a 3rd bouquet for Jessica. He wanted it to be a surprise, so that arrangement was made between us. I thought it was so sweet for him to think of that! Since I already spoke to Jessica about her ideal bouquets for the mothers, I knew what her preferences were.
These small paper flower bouquets have a 10"-12" diameter. When I was envisioning these bouquets, I knew I would not be able to use large peonies or large dahlias or any large flower really. If I used only one, it would throw off the scale of the bouquet and look unbalanced. If I used only large flowers, it would make the bouquet look very sparse and emphasize how small the bouquets were. So I knew that I had to keep the flowers small in order to make the bouquets look fuller which meant I had to work with "accent" flowers, or flowers that are usually added to create accents and interest, versus traditional focal flowers that are larger and say "look at me!". Perfect. I love accent flowers. I'm often drawn more to accent flowers than focal flowers. And the ranunculus is my favourite accent flower.

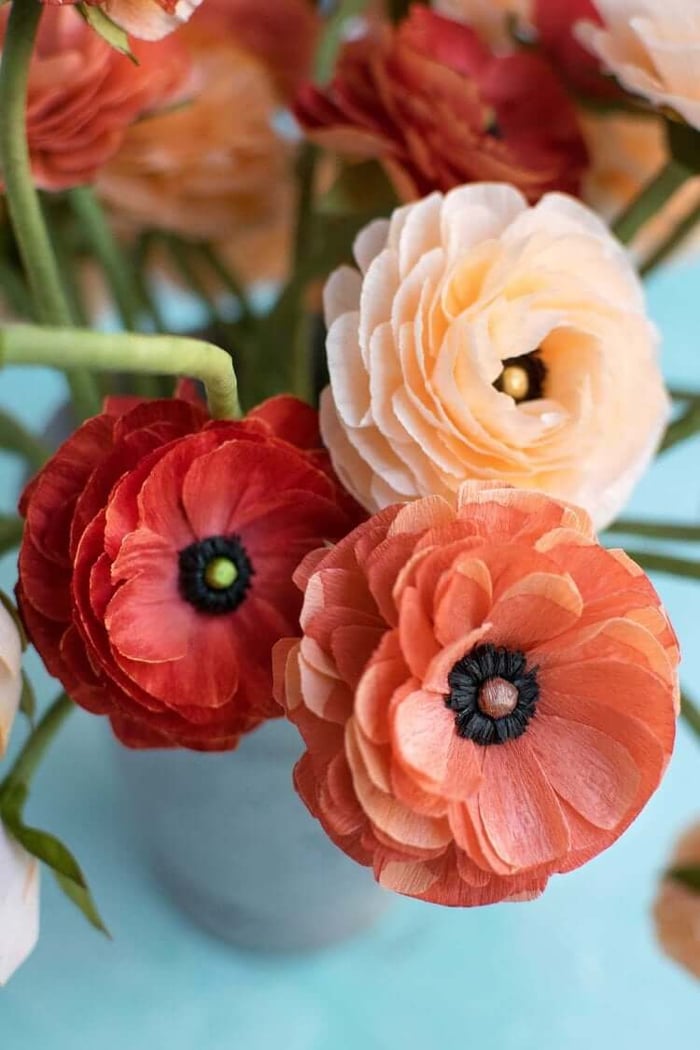
Ranunculuses come in various colours and shapes, so it's really a perfect flower to use in practically every arrangement. They have thick stems and their stems can point straight up or bend and droop. Here, I've used them as the focal/main flowers. I've made a variety of ranunculuses in different sizes, colours, and with different petal placements. I've placed them in the small paper flower bouquets on different levels, some deeper into the bouquets, and some higher up. Most are turned away from directly facing out; their faces look down or up or sideways.
I made ranunculus buds to create further variation in sizes and to also throw in slightly different colours in smaller doses. I love that I can use the buds to create dimension by merely placing them so they extend above the bloomed ranunculuses. They emphasize the different planes or layers. I really had a fun time making them. Their construction is completely different from the full blooms, and in fact, forced me to use new techniques to achieve that flat round shape that the buds are known for.

My favourite and the most challenging part of the process was manipulating the colours of each bloom so they look cohesive when together with the other flowers.That way, I don't need to determine which flower would go in which bouquet ahead of time; I knew that as long as all of the flowers and foliage I made looked good together, it didn't matter too much which ones went together.
As you know, I'm really particular about colour and I never use the crepe colours right "out from the tube" so to speak. For these small paper flower bouquets, I used a variety of Pan Pastels, especially the Pan Pastel in Orange, Winsor & Newton Inks in Deep Red, and Ranger Alcohol Inks in Coral, applied to a variety of peach, orange, and red crepe papers in different weights. In my experience, I've found that if I use one crepe paper colour and apply a colour variation to it, I can get 2 flowers with 2 different colourings that would sit adjacent to each other on the colour wheel. Similarly, if I apply another colour variation to that crepe paper colour, I'll get a 3rd variation that will always look when placed beside the other two. However, it's easier said than done.

Some of you have asked me how I made the stems of the ranunculuses so thick; like many paper florists, I used a clear vinyl tubing. You can buy the tubing from the plumbing section of the hardware store (I bought mine at Rona), or cheaper online. You want to get the tubing with the smallest outer diameter possible like this one with a 1/4" outer diameter. What I do is I cut the correct length and slip it over the stem wire, glue it onto the bottom of the flower with hot glue, and cover it with green floral tape or crepe paper. It allows me to increase the size of the flower stem without losing the ability to bend the stem in any direction or angle. I use this technique for my poppies as well. For the ranucs, I added an additional step though; after cutting the correct length, I cut the tube lengthwise and cut off a sliver about 1/2 cm to further reduce the diameter of the tubing. I then taped it back together before slipping it over the stem wire.
I made paper sweet peas to add a little bit of textural interest and ruffles. They're made with doublette crepe in white/peach and some which had been dip dyed. I used white/peach that had been wet with water to let the inks run and blend together. I finished the sweet peas by spraying them gently with a Design Master TintIt spray in Sepia (I got mine at Michaels). The sepia makes them look less "sweet", and their addition to the arrangement "grounds" it.

What about foliage you ask? In my opinion, they're just as important as the flowers. Stay tuned for Part 2 in a few days!
Want to learn how to make realistic looking paper flowers and arrangements?
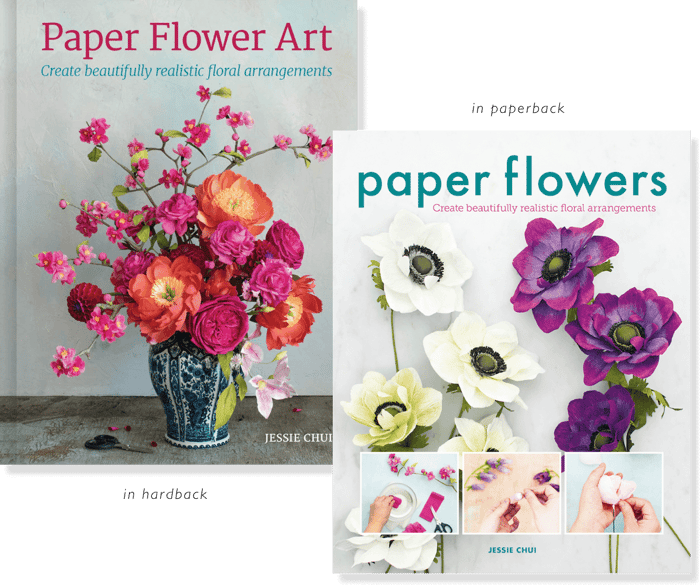
You can learn more paper flower techniques and how to make paper flower arrangements in depth in my book, Paper Flower Art (GMC, 2019) (buy in hardcover or in paperback), or within my Online Courses.